


Supplies:
A yard of super cute fabric
2- D rings
1 foot of boning
I found this fabric in the quilting section at Joann's. I love it! Its feminine, fun, and it even coordinates with her diaper bag and boppy!

You will need to cut a 28" by 38" rectangle of fabric. This is going to be the body of the cover and counts for a half inch (double folded) seam allowance.
You will also need a 3" by 42" strip of the fabric. This will be the main strap.
Lastly, you will need a 3" by 6" strip of fabric. This will be the small strap for the D-rings.

Hem the bottom and side seams of the main body. Once that is done move on to the top seam. Only sew the seam half way, meaning stop once in the middle of the fabric. Switch sides and hem towards the middle from the other side, stopping about 2 inches short of the middle. This allows for a 2 inch hole in the top seam for which to insert the boning.


Insert the boning into the top seam and center it. Then secure it by closing the the 2 hole, finishing the top seam. If you have trouble keeping the boning centered you can always sew in a stop (perpendicular seam).
Step four: Creating the straps
Taking your two strips of fabric, iron a quarter inch seam onto both sides, then iron in half. See picture below...

Fold the strip in half and hem, starting on the open side. Do this to both strips of fabric.
Step five: Attach the hardware and finish the ends
Taking the newly hemmed small 6" long strip of fabric, slide 2 D-rings onto the strap, and fold in half. You can add a couple seams between the rings to keep them in place.

Take the 42" strip and finish one end.
Step six: Attaching the straps
Fold the unfinished end of the 42" strap and sew it on one side of the top seam, butting up to the boning.
Next, fold the unfinished end of the 6" strap with D-rings and sew it on the other side of the top seam, also butting up to the boning. This will help keep the boning from sliding around in the seam.
And that is it, you are done! Just weave the long strap through the D-rings and you can wrap this puppy up and give it to mom.

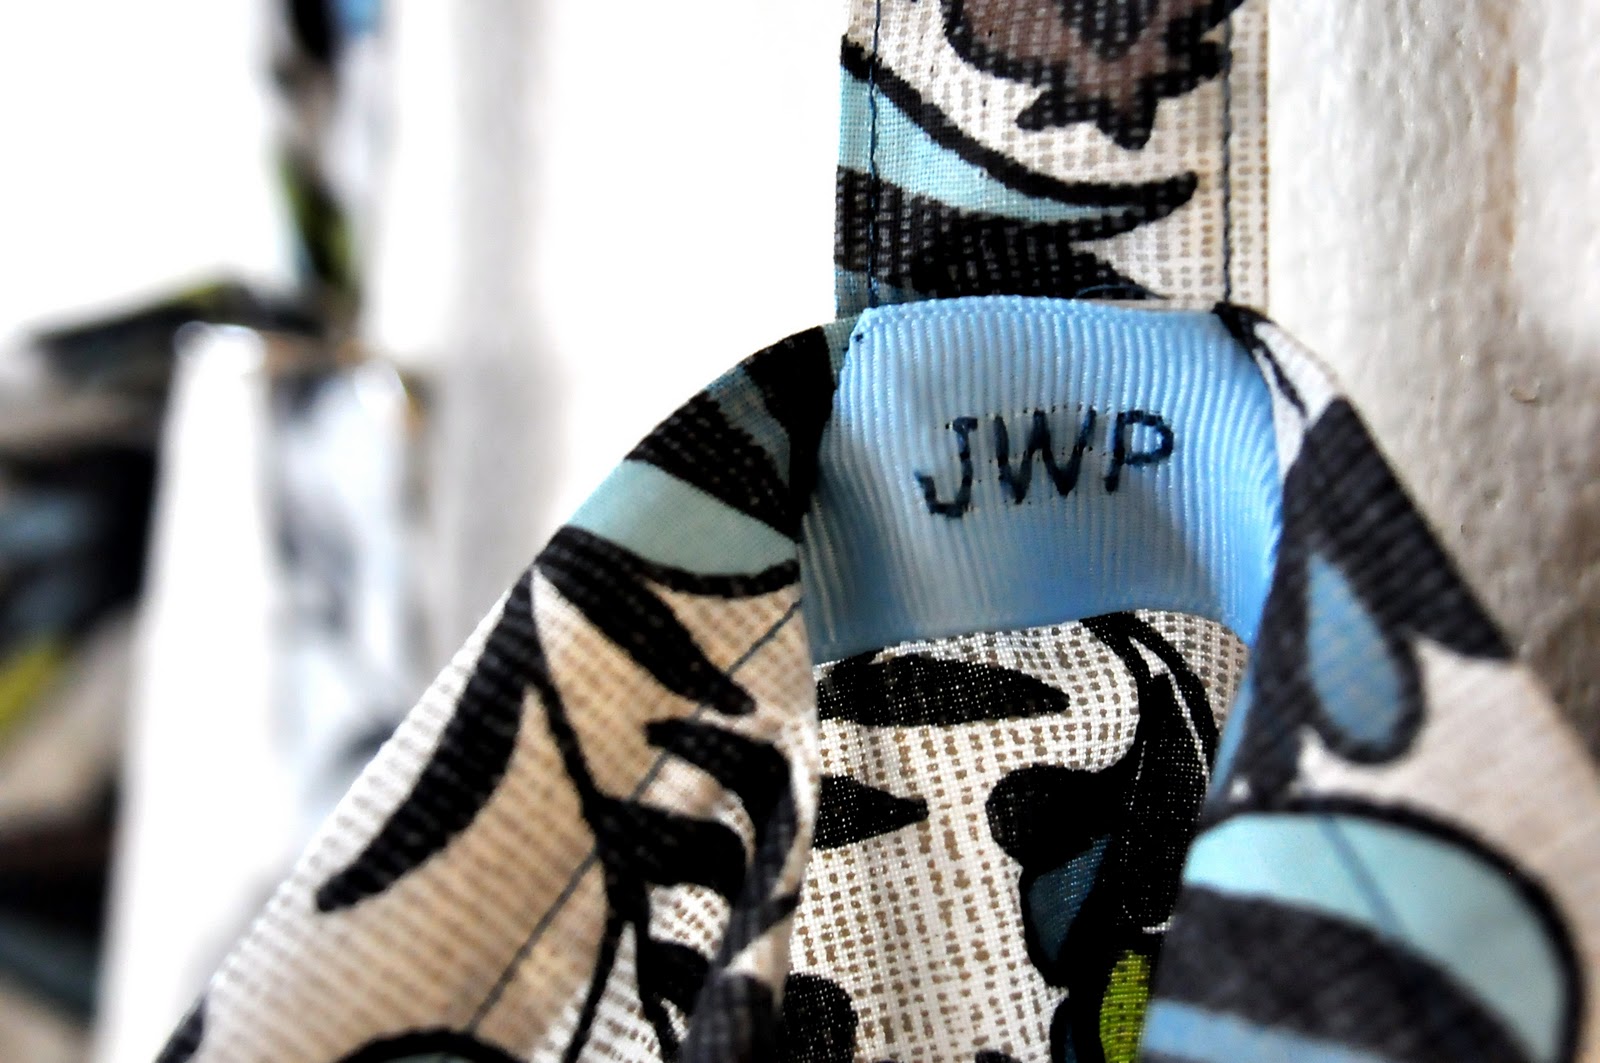
I finally learned how to use the lettered embroidery function on my sewing machine so I could personalize this for my friend with her monogram!

This is me. I wanted to show you what it looks like on. Pardon my disheveled appearance, I had just gotten home from the gym.
I gave it to Jessica today, and she loved it! I am thrilled that I finished it in time for her to take it to the hospital. Now, if only we could coax this little baby out so she can use it!